
Group a client's products
- How-to
- Products
- Who can do this: Admin, Warehouse Manager, Account Manager
- Checked on 27 October 2026
Put a client's products into Product Groups, such as a range or a season, and filter the Products list by them.
In short
Go to Products › Product Groups, select New Product Group, choose the client and enter a Name. Then choose the group in each product's Product Groups field.
Before you start
You need to be an Admin, a Warehouse Manager or an Account Manager. If you don't see New Product Group, ask an Admin.
A Product Group holds one client's products only. A product can be in several groups, or none.
Steps
Create a group
-
Go to Products › Product Groups and select New Product Group.
-
Choose the Client, then enter the Name, such as
Gift Sets, and a Description.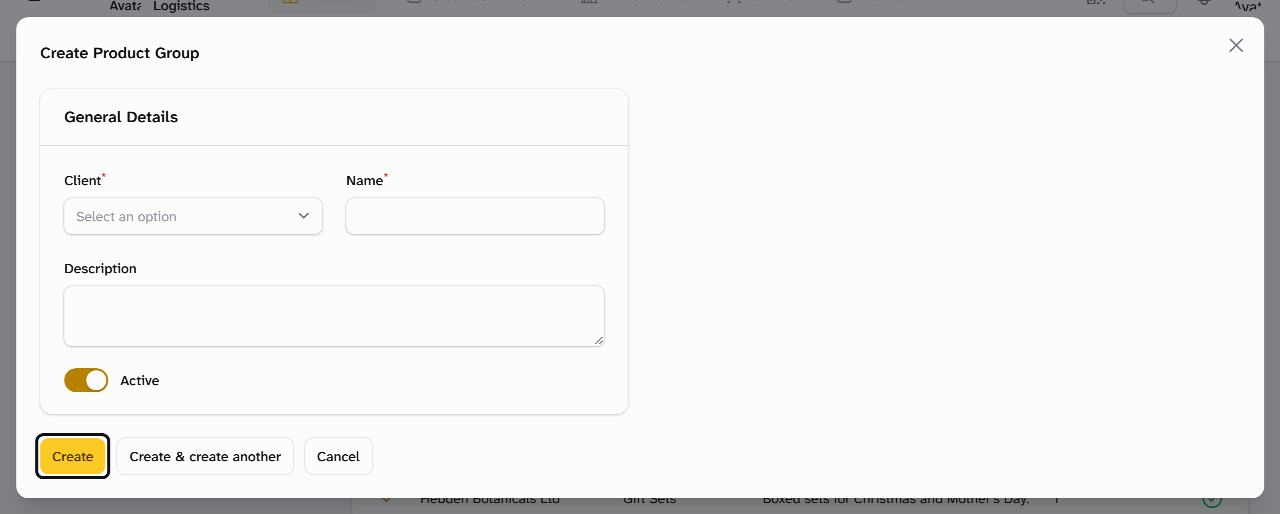
-
Select Create. A client can't have two groups with the same name: Stockist refuses the second and closes the form.
Put products in it
- Go to Products › Products. In the product's row, select Actions, then Edit.
- In Product Groups, choose one or more of the client's groups.
- Select Save changes. The group shows in the product's Product Groups column.
To see a group's products, select Filter on the Products list. Choose the group under Product Groups and select Apply filters.
Stop using a group
- To keep it but stop using it, select Actions, then Edit, in its row. Turn off Active and select Save changes. Its Active column shows a cross.
- To delete it, select Actions, then Delete, and Confirm. Its products stay, out of the group.
What happens next
The group's Products Count shows how many products it holds. Hebden Botanicals' Gift Sets group, for one, holds its Hebden Hamper Gift Trio.
Groups are for finding products. They don't change how stock is received, stored or picked.
Still stuck? Email [email protected]